The images that inspired me to use for my board game cover was my StoneBridge Farm Photos and my Harry Potter Photos from my trip. Particularly the images that inspired me from StoneBridge farm was the photos of the horses. Also from my Stonebridge farm photos the hen photos inspired me to create a creature using their amazing and cool parts of their body like the feathers and wings.
From my Harry Potter research the images that inspired me was the glass building that I took because it looked like it should be on a board game cover with the way the light hits the building. Another image that inspired me from my Harry Potter trip was the small part of the door. This is because this looked pretty with the pattern and it looked like it was supposed to be on a box for a game more then in the Harry Potter Tour on my trip.
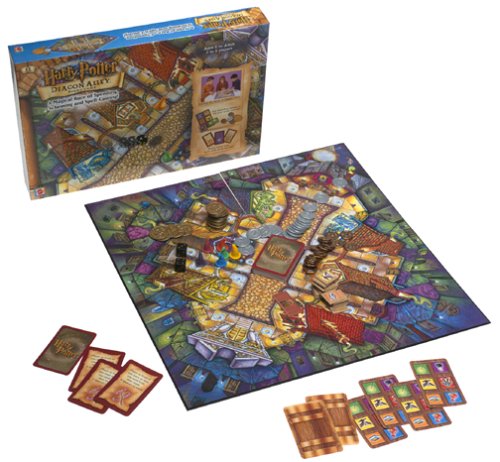
My ideas for my board game cover was to have an image from my Harry Potter research as the background. This was to show that my board game was to do with Harry Potter. I intended to create a Harry Potter Board Game cover using Photoshop with some creatures that I merged together. The characters that I was originally going to use for my board game was the main characters from the Harry Potter Films. This was because I thought that I could use them to show that my board game cover was Harry Potter related. I also intended to have the glass building photo for the board game cover, for the background with my creatures dotted around/ spread around to show them going into the board game,
The animals at Stonebridge farm that I focused on was the horses, the sheep, the pigs and the hens. I focused on these 4 animals at the farm the most because I felt as though these would have made the best part of a new creature. I did take photos of other animals to get the best results incase I changed my mind on the animals that I wanted to use for my board game cover incase something went wrong. The shots that I achieved at the farm did match the shots in my proposal because the Iso was 200, and it was 200 on my camera as I used the same camera. The shots that I achieved at the Harry Potter tour was some close- up's of some of the sets that was used in the films, also I achieved a sort of long shot with the main set of the Harry Potter table as I stood at the end of the table to capture the whole table even though it didn't work. The shots that I achieved at the Harry Potter Tour was used in my board game design by me choosing one of my images to use by comparing all of my Harry Potter tour photos to decide which one I preferred. I only used one of my Harry Potter photos in my board game design because I ran out of time. The photo that I used was a glass building. I used this in my board game design by having it as ther background to show the magicalness of Harry Potter.
The things that I had to take into account whislt taking photos of the Harry Potter world was people. I had to make sure that there was nobody in the photo whilst I took it. Also I had to take into account that the lighting from my trip wasn't as good as it could have been. This made it harder to see when I took the photos as the quality of the lighting wasn't the best. Personally I had to take into account the fact that my camera died during the trip causing me to use my phone for most of the photos that I took, this dodn't give me the best results for the photos as I couldn't control the ISO or Apature or the Shutter Speed. However when I was at StoneBridge Farm the things that I had to take into account whislt taking my photos was that the animals kept moving. This caused some of my photos to be blurred and smudged slightly because the animals didn't stay in the same place.(Not all of them did).I also had to take into account at StoneBridge Farm whilst taking my photos that not all of the animals liked having their photo taken because they backed away from the camera. Also the Location of where my camera was for each of the photos that I took was alright. The framing was good but I had to consider where the best way was to put my camera to capture the animals without frightening them, aswell as trying to get the best qualitied photo of the animals.
I used photoshop to edit my photos to create my three final creatures. The editing process of this
was to click on image. Then I had to click onto levels and exposure and curves to change the quality of the photo. Also I used the pen tool to cut around each of my photos to create my three final creatures for my board game cover. I had to use the rubber tool to get rid of the parts of my photo that I didn't want for my final image. Overall my creatures turned out the way that I wanted them to.
If I was to do this project again the things that I would do differently is that I would change what .photos I would want to merge together to create a great creatures. Also another thing that I would do differntly if I redid this project is make the title of my board game cover stand out more so it looks like a proper board game cover. The things that I learnt from .this assisgnment was how to create a board game cover using photoshop. Also from this assignment I learnt how to cut out and create my three final creatures. I found this part tricky because different parts of my three merged creatures didn;t go in the place that I wanted it to. I have learnt to use the levels and curves to change the quality of the photo, this was so I could clearly see my photo to edit instead of it being light and harder to edit.
In my opinion my final image does fit the assignment brief. This is because I kept on looking back at the assignment brief to see what I needed to include. I have thought about what I wanted to go onto my board game cover before I did it which made my final image fit the assignment brief. However in my opinion the final image doesn't fit my original proposal because I said that I wanted to use part of a cow and some parts of rabbits which I didn't in the end. I had to change my original ideas to create my final board game cover because in the end I used some different animals to what I originally suggested. I used a pig body photo and a duck body photo for my final image that I didn't say in my proposal. This was because I could create my three creatures more easily. Also I felt that these two photos worked better than my original ideas would have done from my proposal.


